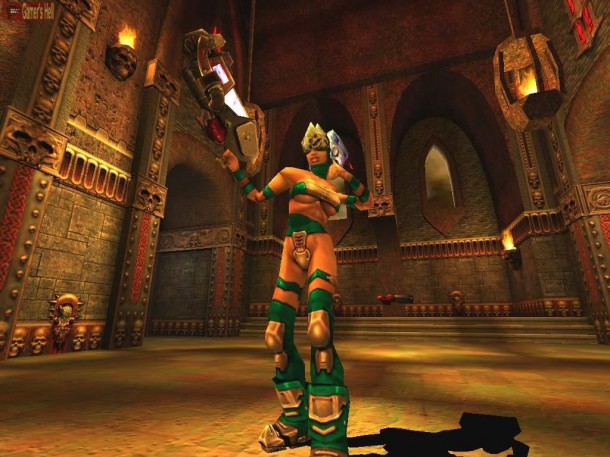
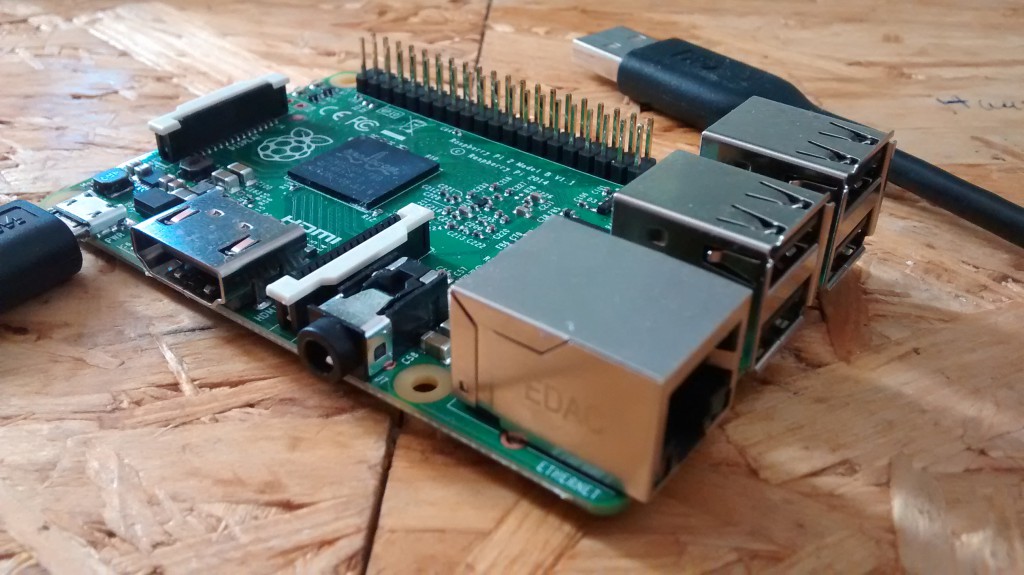
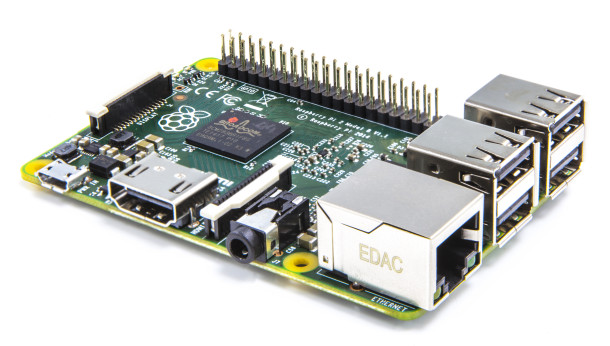
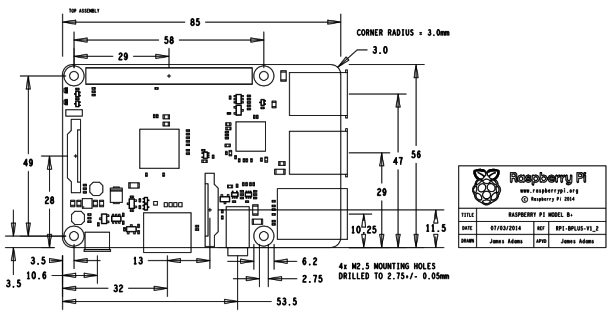
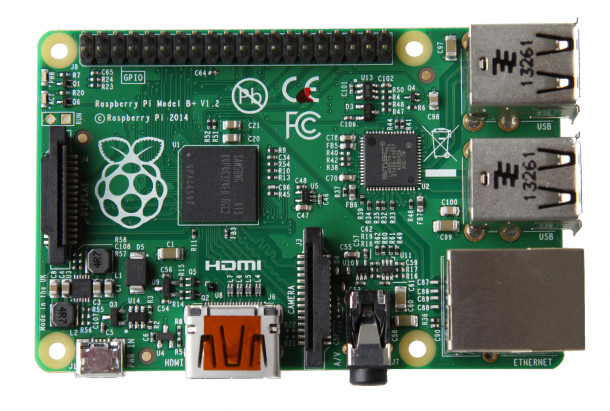
Endlich ist es soweit! Ein freier Grafiktreiber für den Raspberry ist verfügbar. Momentan muss man dazu aber noch den Kernel selber compilieren:
SETTING UP THE DEVICE
You will need:
- a Raspberry Pi, preferably a 512MB version, with the latest Raspbian
- a network connection
- a monitor capable of displaying 1080p
- an SD card, at least 8GB (10GB is recommended)
We need plenty of space to build the kernel. Compiling will take around 12 hours, so it is helpful to overclock the Pi for this task. We also require the latest firmware, and the necessary packages we’re going to use to build the code.
Note: We’re going to use gcc 4.7, as the code generated is 10% faster than with 4.6. 4.8 is 10% faster still, but this is not available on Raspbian. If you cross-compile you can get better frame times.
Enter the raspi-config utility with:
sudo raspi-config
Expand the filesystem, set the overclock to at least medium (900 MHz), and reboot. Now perform an update with:
sudo rpi-update
and reboot again. We need to install several packages. Enter the following command to do this:
sudo apt-get -y install gcc make bc screen ncurses-dev g++-4.7 libsdl1.2-dev
FETCHING THE SOFTWARE
Enter the following commands to retrieve the necessary software from GitHub:
git clone --depth=1 https://github.com/raspberrypi/linux.git
git clone https://github.com/simonjhall/challenge
git clone https://github.com/simonjhall/dma
git clone https://github.com/raspberrypi/quake3.git
BUILDING THE KERNEL
This will take around 10 hours with all kernel modules. Pruning the modules to the bare minimum can improve compile times if you wish. Enter the following commands:
cd linux
git apply ~/challenge/kernel/patch.diff
zcat /proc/config.gz > .config
make oldconfig
make menuconfig
Enter “general setup”, select “local version”, enter the string “simon” and then exit to the main menu and save. Now build the kernel with:
make ARCH=arm
INSTALLING THE KERNEL
Enter the following commands to install the new kernel:
sudo make ARCH=arm modules_install
sudo cp arch/arm/boot/Image /boot/kernel_simon.img
sudo su
echo kernel=kernel_simon.img >> /boot/config.txt
echo gpu_mem=128 >> /boot/config.txt
reboot
When the devices comes back up, verify that the new kernel is loaded with the following command:
uname -a
You should see something similar to this:
Linux raspberrypi 3.10.33simon+ #1 PREEMPT Sat Mar 22 09:49:59 UTC 2014 armv6l x
BUILDING THE REST
Enter the following commands to build the rest of the software:
cd ~/quake3
git apply ~/challenge/quake/patch.diff
./build.sh
cd ~/dma
cp ~/challenge/kernel/module/dmaer.c .
make
./install.sh
Next, verify that the module has installed with this command:
tail /var/log/kern.log
You should see something similar to this:
Mar 23 15:22:45 raspberrypi kernel: [ 20.814750] smsc95xx 1-1.1:1.0 eth0:lin1
Mar 23 15:22:45 raspberrypi kernel: [ 21.376702] bcm2835-cpufreq: switching td
Mar 23 15:22:45 raspberrypi kernel: [ 21.376710] bcm2835-cpufreq: switching td
Mar 23 15:22:46 raspberrypi kernel: [ 24.472575] Adding 102396k swap on /var/S
Mar 23 15:25:02 raspberrypi kernel: [ 143.984835] 20c00000 f2c00000 deadbeef
Mar 23 15:25:02 raspberrypi kernel: [ 143.984866] major device number 248
Mar 23 15:25:02 raspberrypi kernel: [ 143.984890] vma list size 12, page list 6
Mar 23 15:25:02 raspberrypi kernel: [ 143.984909] allocated dma channel 4(f208
Mar 23 15:25:02 raspberrypi kernel: [ 143.985242] qpu ENABLED
Mar 23 15:25:02 raspberrypi kernel: [ 143.985264] V3D identify test: V3D versi2
Now enter the following commands:
cd ~/challenge/source
make
sudo make install
SETTING UP THE GAME
First of all you must ensure that you have the Quake 3 Arena data files on your Pi. You require the ‘point release’ pak files installed. There are various ways to do this but you could either transfer them from another machine with SCP, or copy them across on a USB stick. Copy the files into a folder called ‘baseq3′. This should now contain pak files numbered from 0 to 8 (eg pak1.pk3).
Next, enter the following commands:
sudo mkdir /root/.q3a
sudo mv baseq3/ /root/.q3a/
cd ~/quake3/build/release-linux-arm/
sudo mknod char_dev c 100 0
sudo cp ~/challenge/quake/demo.cfg /root/.q3a/baseq3/
RUNNING THE GAME
Enter the game folder with the following command:
cd ~/quake3/build/release-linux-arm/
Run the game using this command:
sudo ./ioquake3.arm +exec demo
If you wish to play the game after a reboot, you must run the following commands to re-load the necessary files:
cd ~/dma
./install.sh
Ich werde das Ganze demnächst auf deutsch anbieten – momentan probiere ich es aber noch selbst aus – was ja bekanntlich etwas dauern kann, auf dem Pi. Cross-compiling werde ich dann auch noch anschneiden… Viel Spaß euch mit Quake 3 und dem Pi!
